You can add contacts in bulk using a .csv file. To add contacts in bulk into Factoreal, perform the following steps:
- Click Segments.
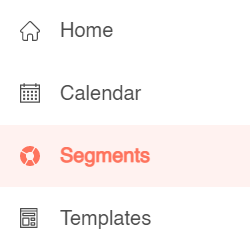
- Click Contacts.

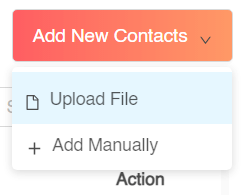
- Under Add New Contacts, click Upload File.
- In the Upload your File section, you can choose to upload a .csv file from your system. Your .csv file needs to have all the information about your contacts with email ID being mandatory field.NOTE: To make sure your contacts are uploaded successfully, we recommend downloading the sample .csv file and using the same format when uploading your contacts in bulk through a .csv file.

- You will get a preview of the file contents. If satisfied, click Next.
- In the Map file section, you need to map the file columns you wish to import with respective contact attributes listed on the screen in which you wish to add the column’s values. Note: This will help Factoreal segment your contacts later in the Audience section based on attributes you are mapping. In case your file has an attribute that isn’t mapped automatically, you can click the drop-down and select the right attribute. If the attribute does not exist, you also have an option to create a custom attribute so that you don’t miss out on capturing additional information about your contacts. To find out more about custom fields and objects, refer to the section – Creating Custom Object & Custom Fields for Data Management. By default if your file contains headers similar to the contact attributes of Factoreal then they will be automatically mapped with the respective matching contact attribute. Make sure that email ID field is mapped.

- Update SMS/ WhatsApp Consent: If you wish to send WhatsApp and SMS to the contacts being uploaded you are required to have explicit WhatsApp Opt-In Consent from your customers prior to sending them WhatsApp notifications and for customers from many countries you need have SMS Consent prior to sending them marketing SMS. To apply the same on the contacts Click on Update SMS/ WhatsApp Consent and you may select either of the two consents or both SMS and WhatsApp to give the required consent for the Contacts being uploaded. You can select to give the consent to either All of the contacts or specific contacts. You can give consent to specific contacts by mapping the required column in the file being uploaded to SMS and WhatsApp consent respectively.

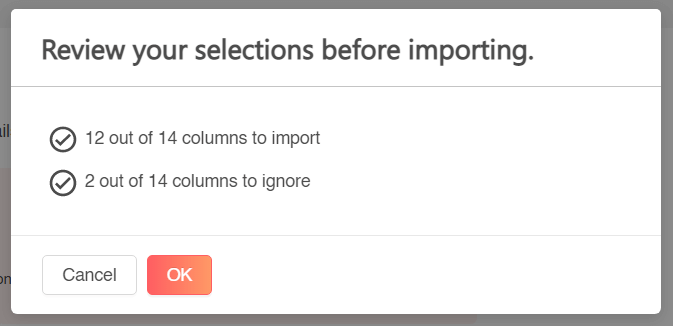
- In the Review & Confirm section, review and confirm the details of contacts you are uploading. If you select the Overwrite the existing contact details option, your duplicate contacts will be overwritten with that of the csv file. If you choose to enable Import empty fields to erase existing contact details option, existing records will be replaced with the blanks in the .csv file. You can choose to blacklist the imported email contacts. Finally make sure your contacts have opted in to email marketing material from you and check the box under Opt-In Agreement.

- Click OK.
- In the Add to List section, you can select an existing list if you wish to add the contacts to an existing list or you can click Create a new list, enter a name for the new list save your contacts to this newly created list.
- You can add tag(s) to your uploaded list.

- Click Save.
Once you click Done, you can see the import history which provides you with the details like the number of contacts in your file, number of contacts successfully added, number of invalid contacts, status of the uploaded file, and more.
You also have an option to download the error report, if any to see the issue with the invalid contacts.